Over the years, I have attempted to restore many photographs. We have all come across piles of old photos dumped into drawers or crammed into cardboard boxes. Sometimes, this treatment results in damage done to the prints, such as tears, creases, or pieces of missing finish, to say nothing of faded colors or deteriorated sharpness. Some of these issues are more difficult to deal with than others; I remember spending a great deal of time trying to restore certain photos. Earlier this year, ON1 released Restore AI, and while the product is certainly not perfect yet, it is already a huge time saver.
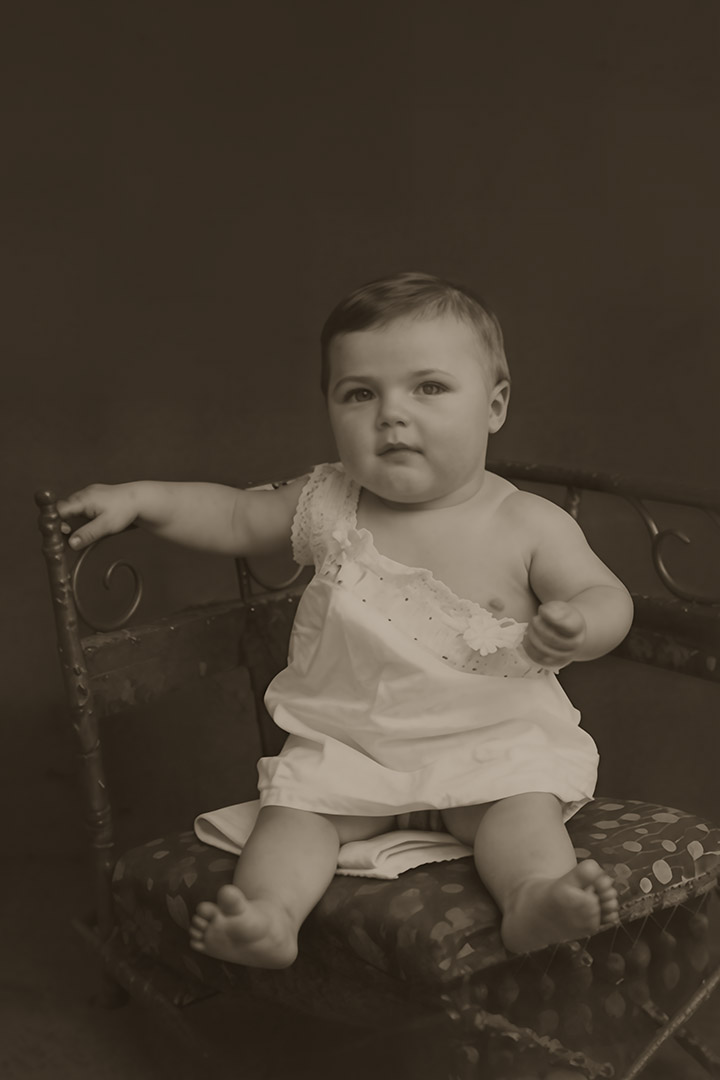
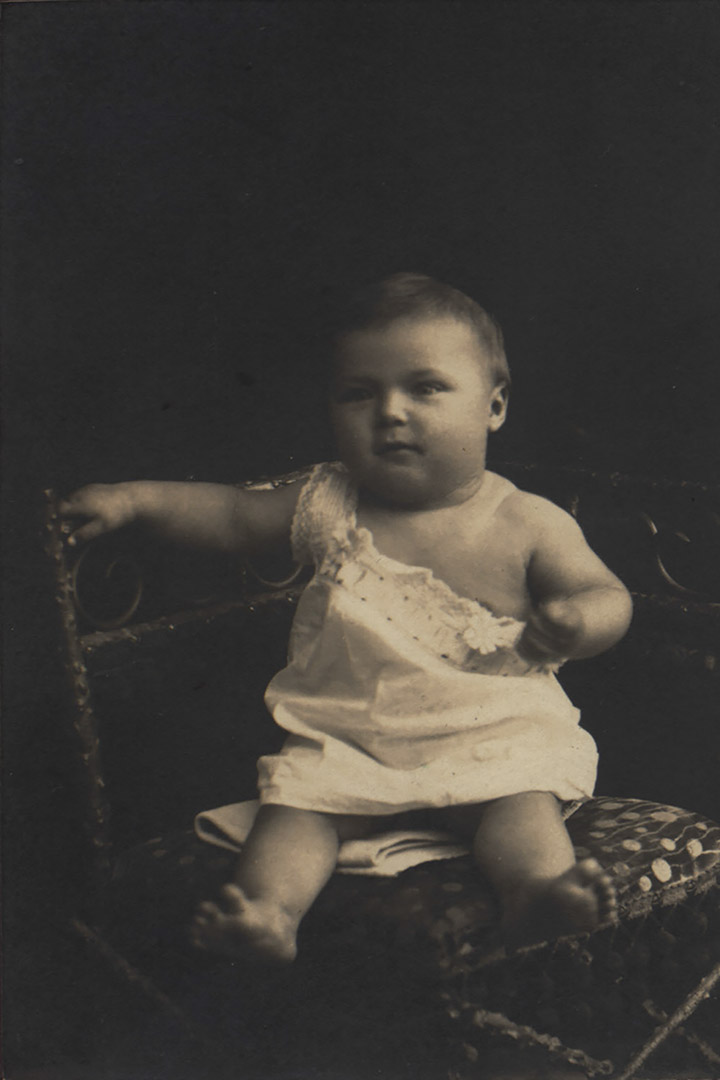
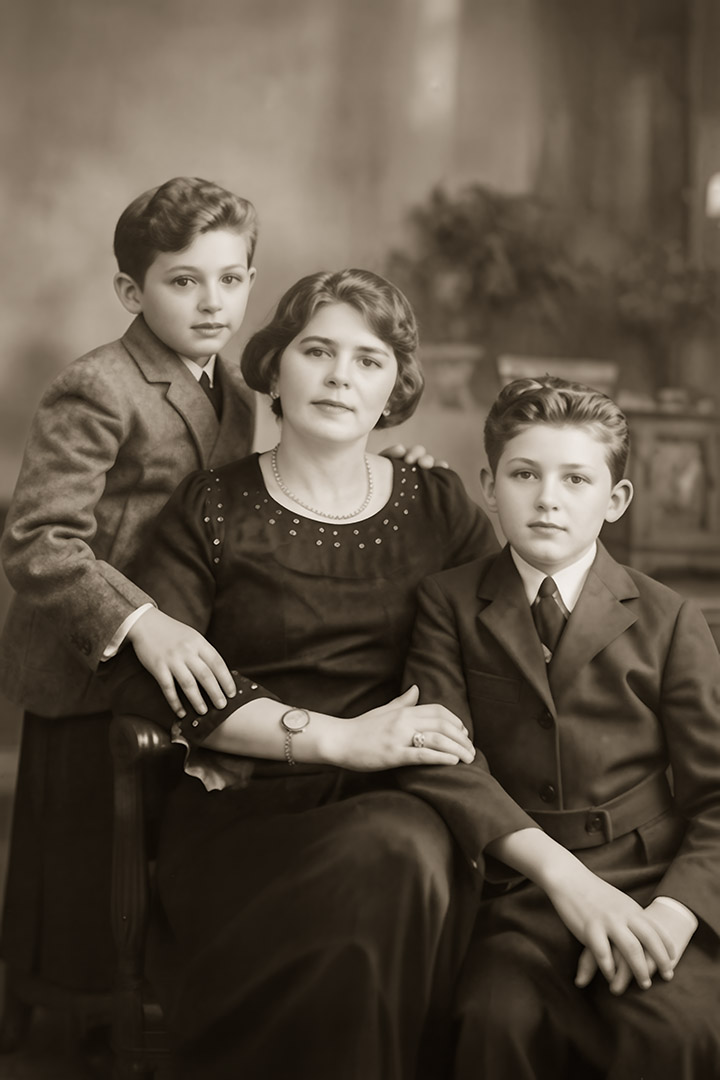
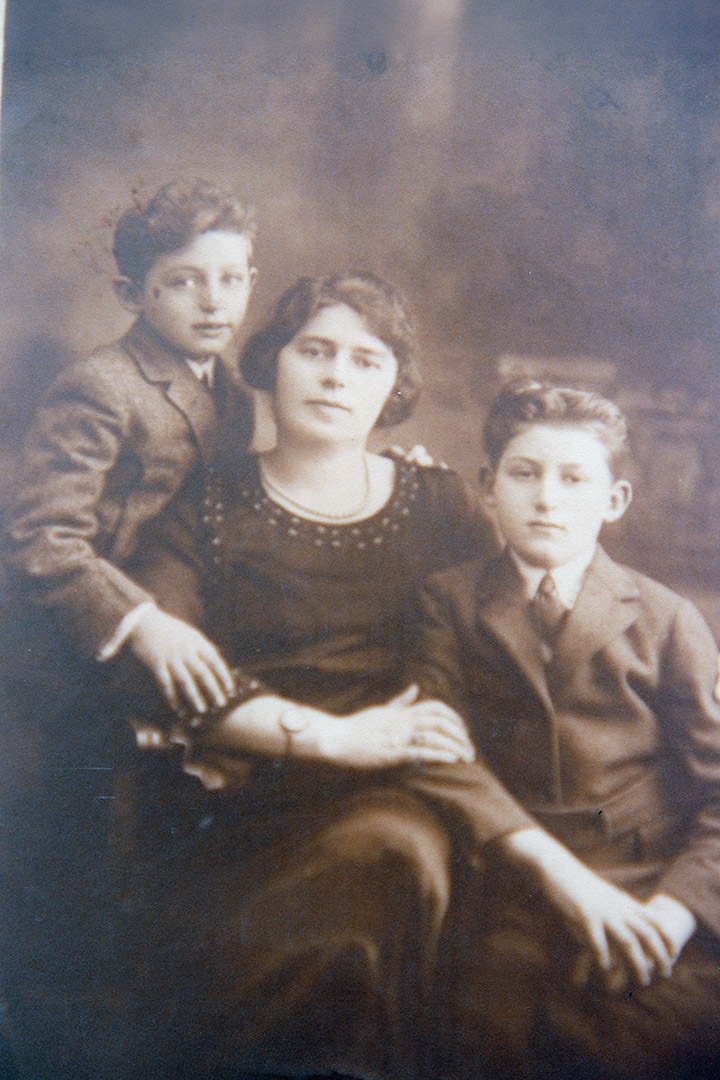
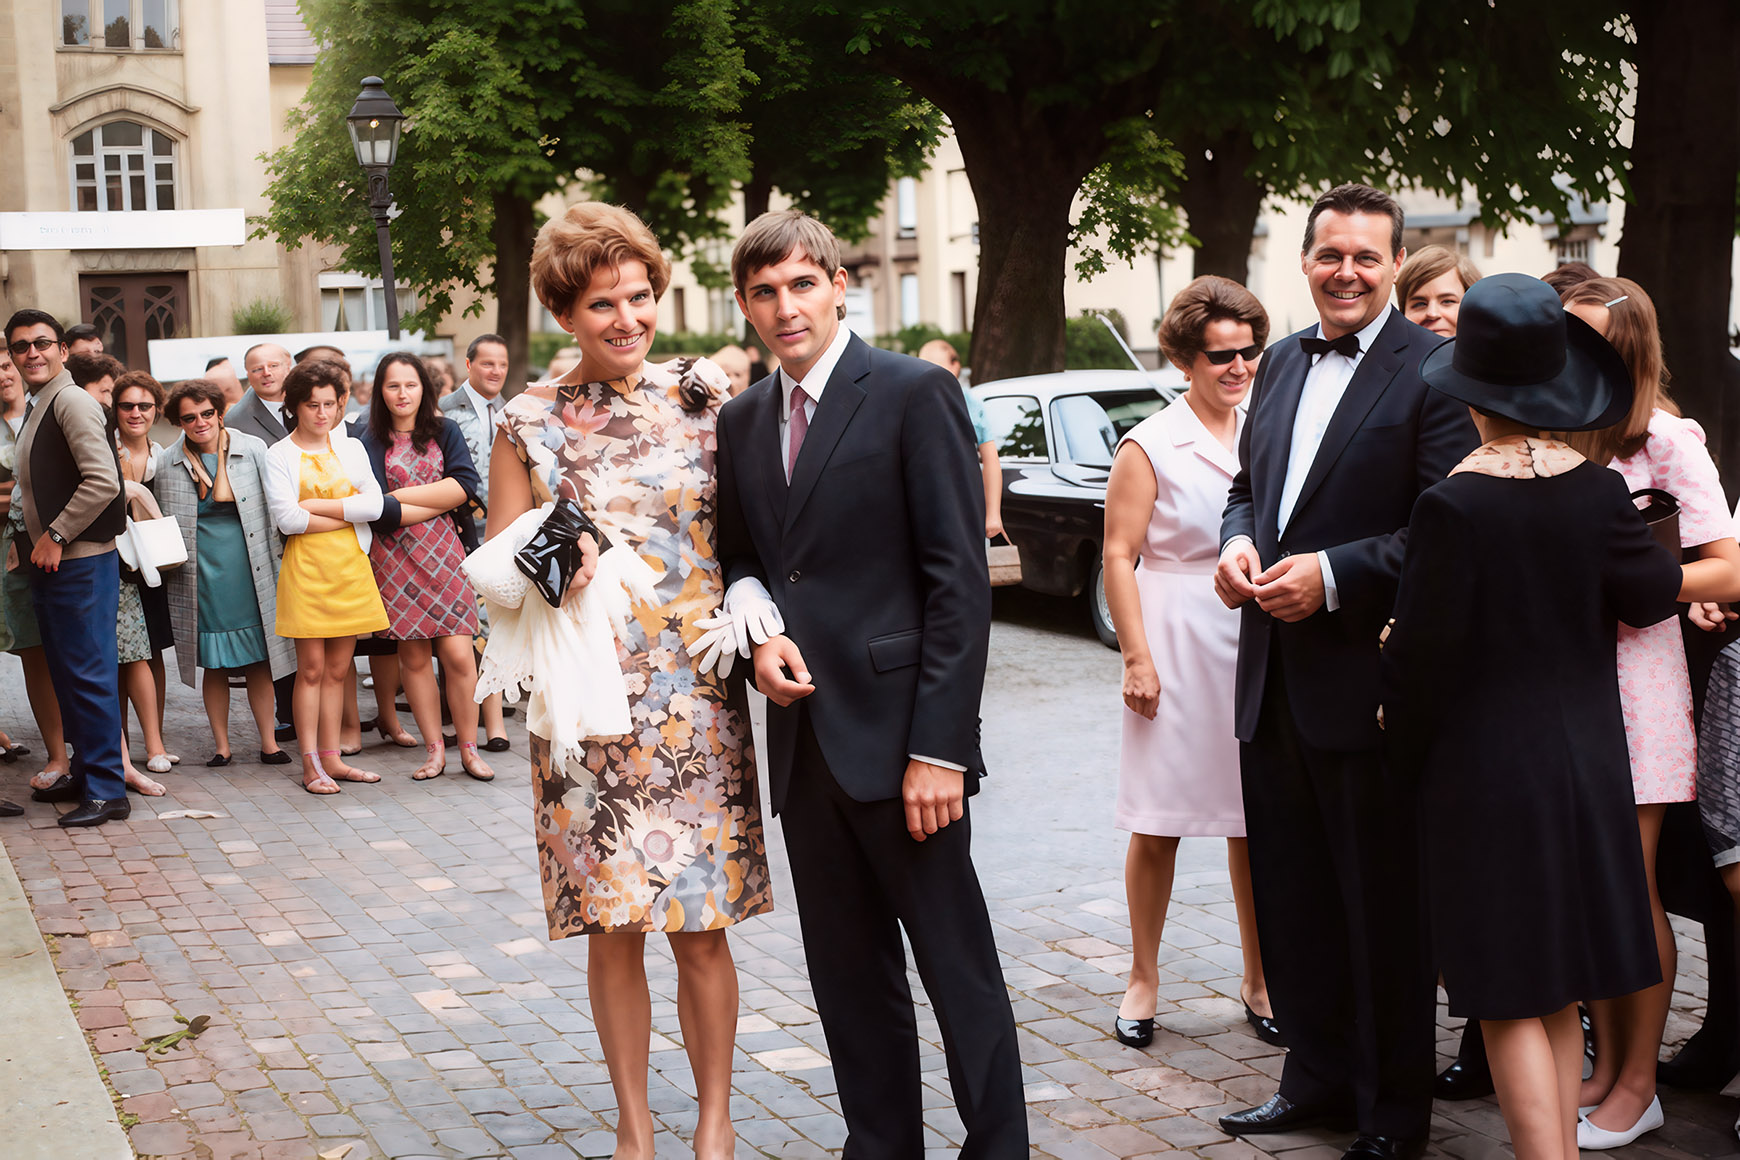
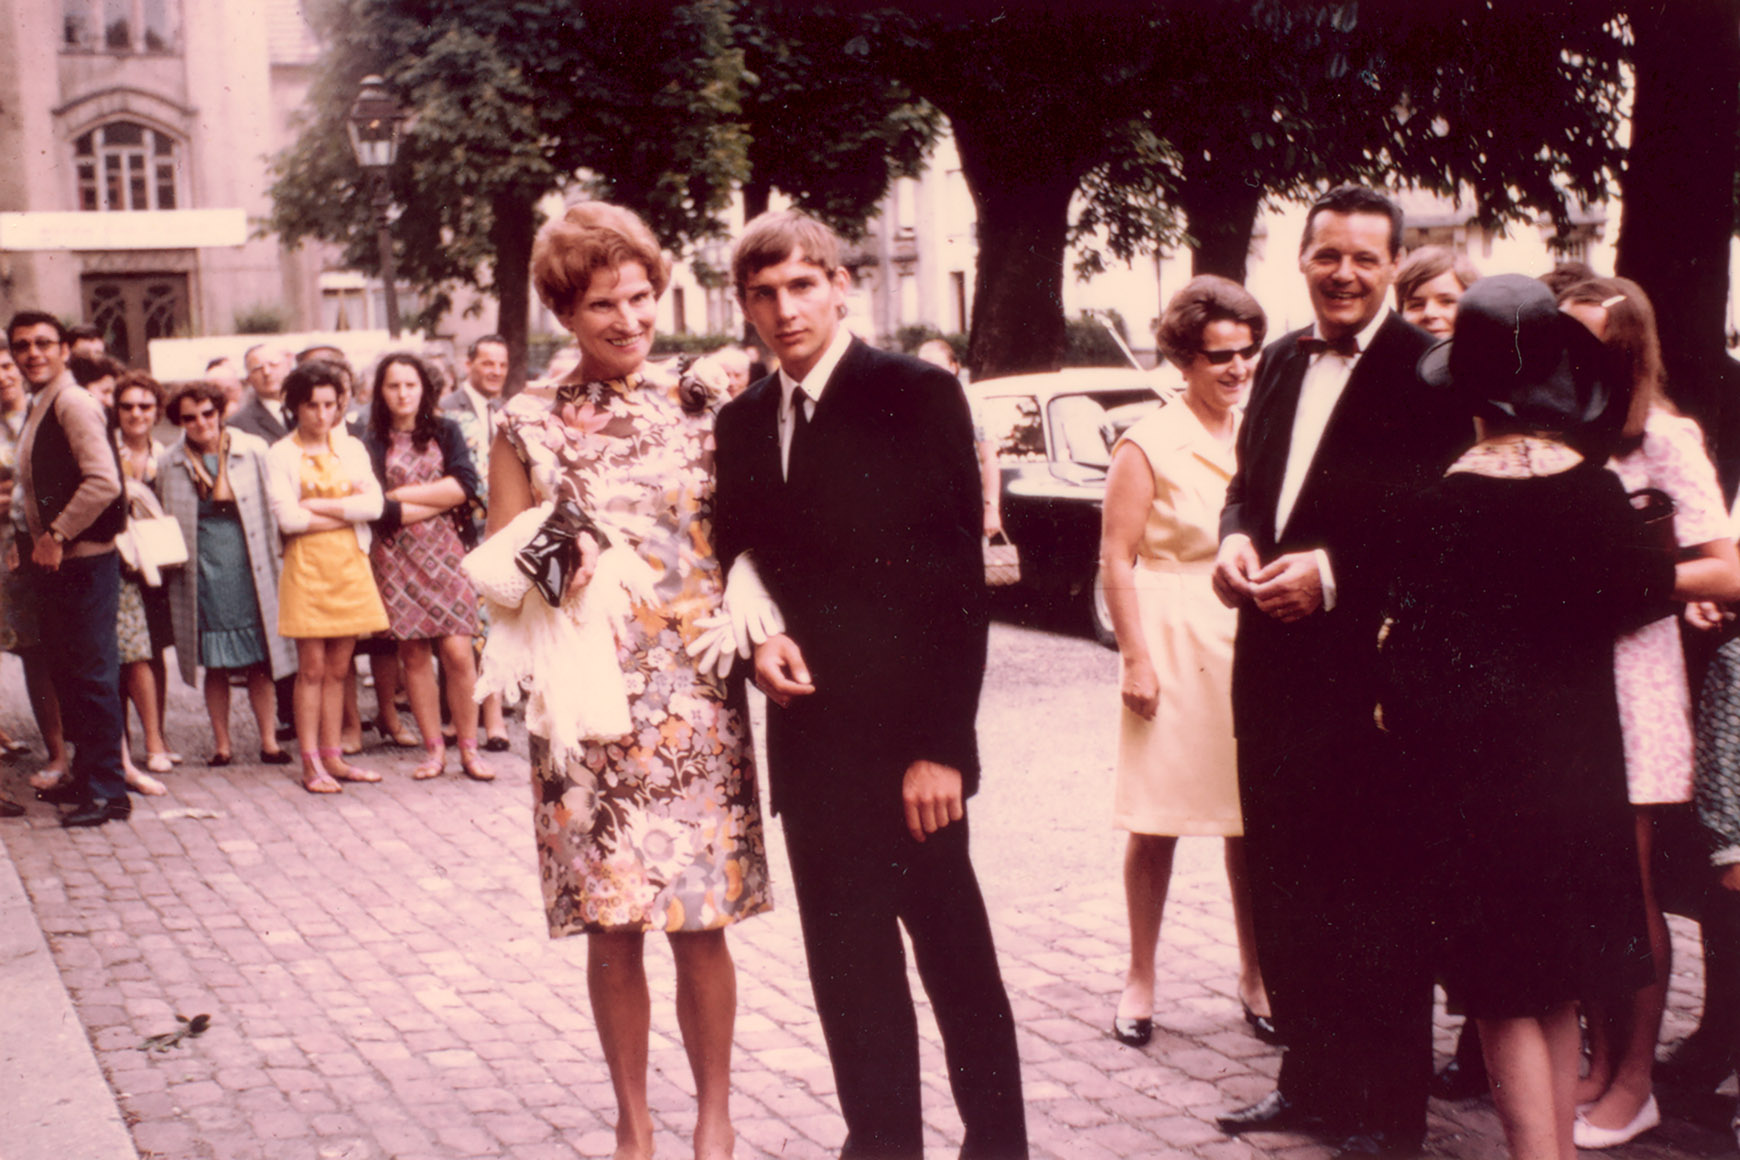
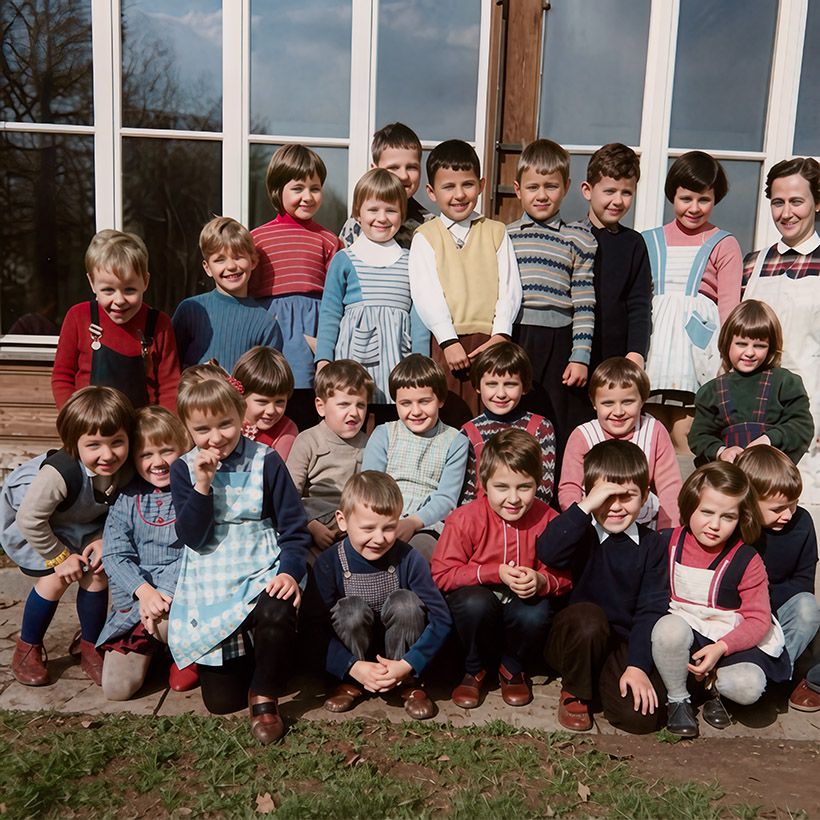
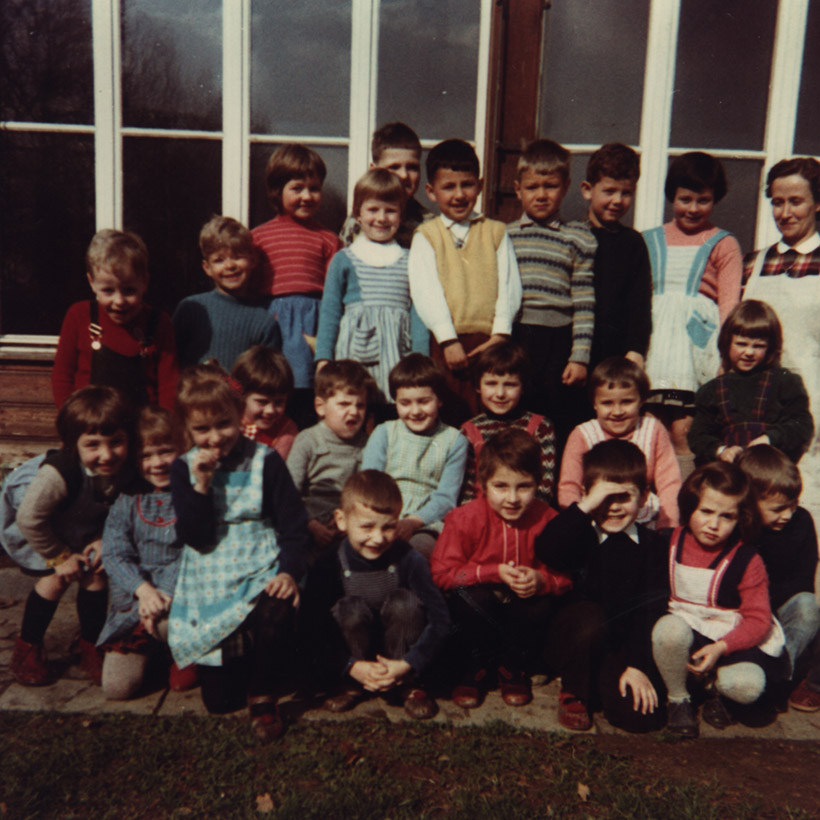
On this page, I present a baker's dozen photos that I processed with ON1's Restore AI. All photos are initially shown before processing, i.e., after being scanned. At the right edge of each image, there is a small tab with an arrow pointing to the left; moving that tab across the photograph in the direction indicated gradually reveals the version treated with Restore AI. Clicking on any area showing either the processed or unprocessed image opens a larger version of the corresponding photograph.
The first two images are well over one hundred years old and were taken by professional photographers. The first one was printed on heavy cardboard, and the second one on normal photo paper. In both cases, the application did a good job bringing out some details.
|
|
|
Baby portrait (1911) |
Mother and her sons (1923) |
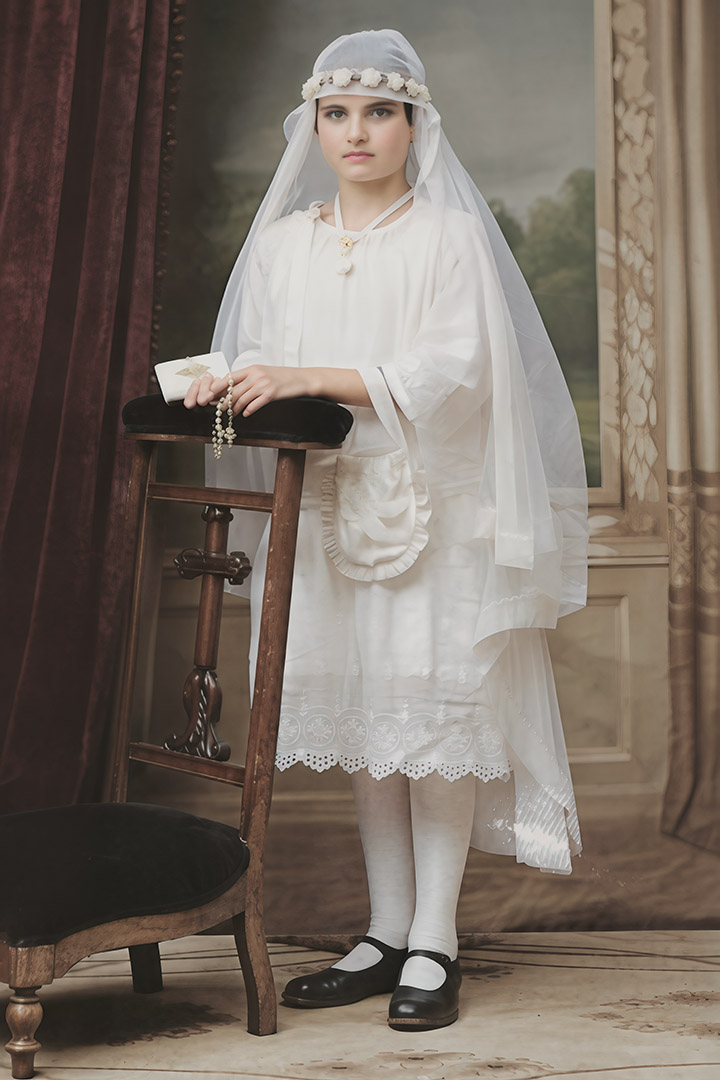
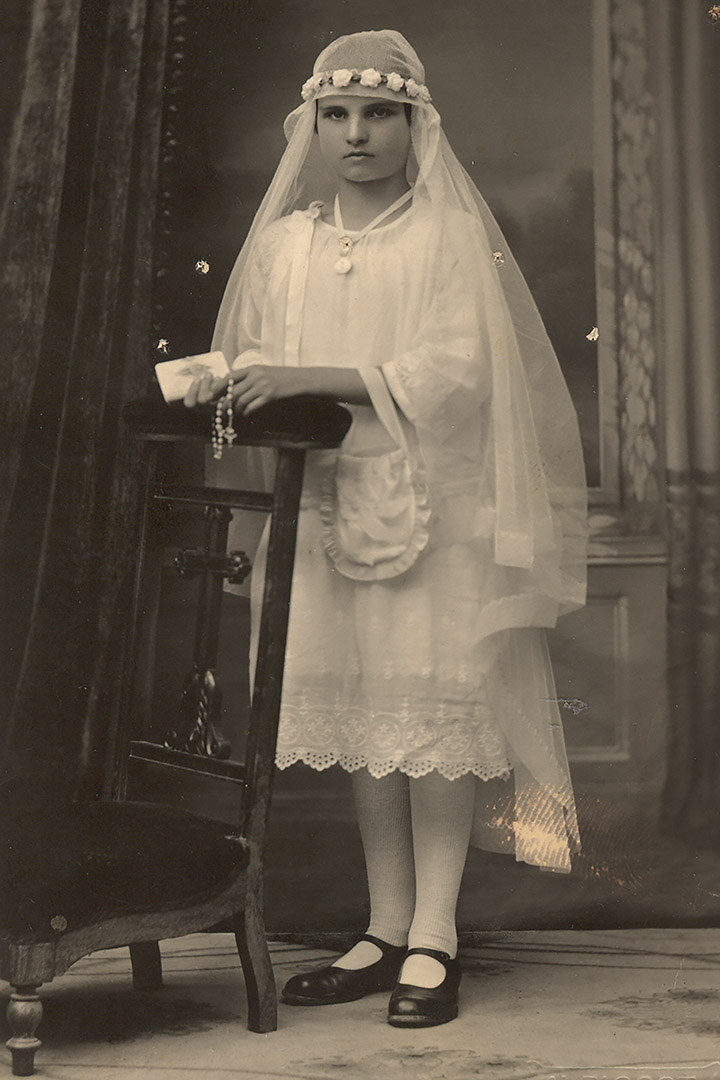
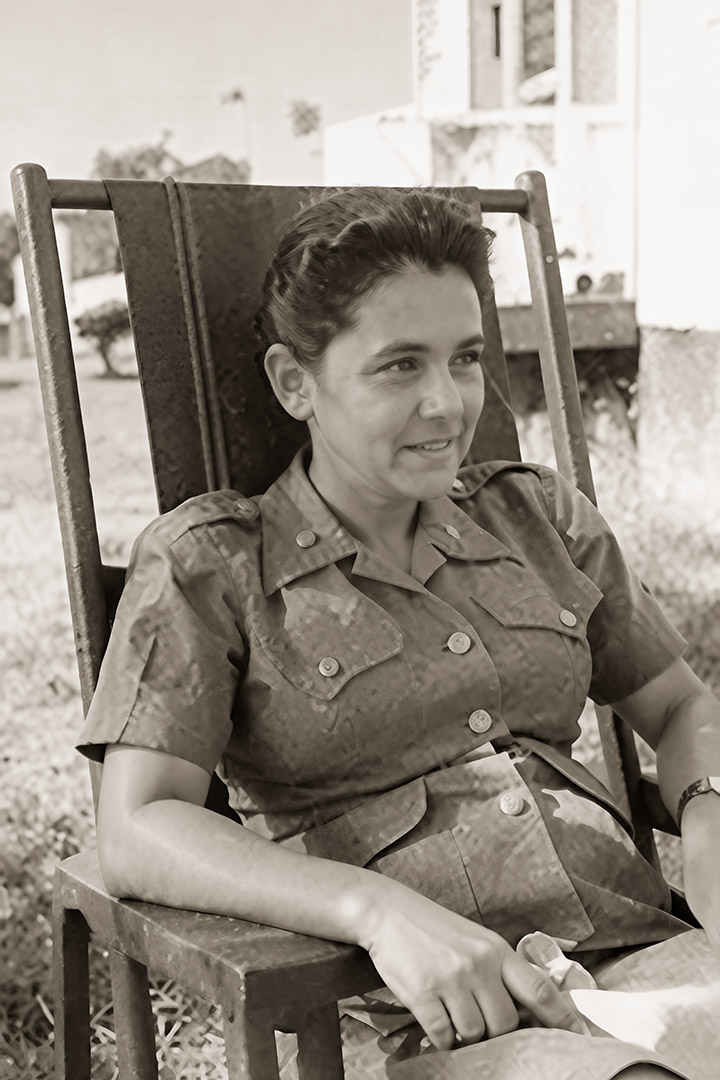
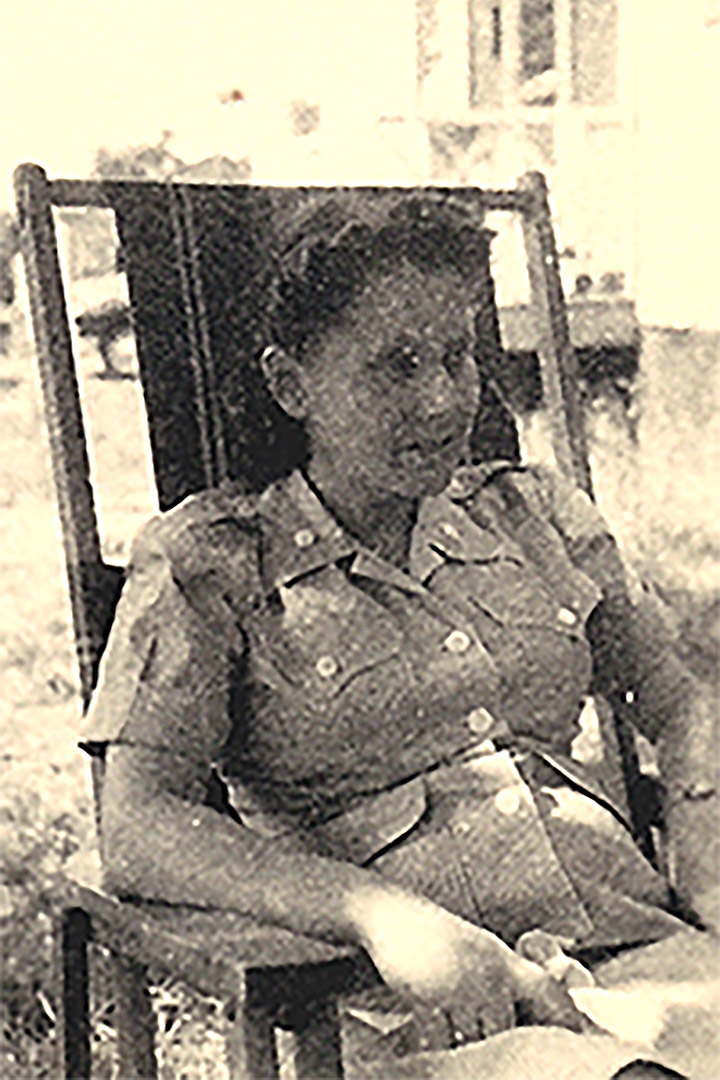
Restore AI can also be used to add color to monochromatic images. I did choose to do that in the third image, and fortunately, saturation can be set as high or low as desired to avoid ending up with garish colors. The fourth print was in pitiful condition, with a large portion of the finish gone. I'm amazed that the program managed to do as well as it it did!
|
|
First Holy Communion (1929) |
Outdoor portrait (1948) |
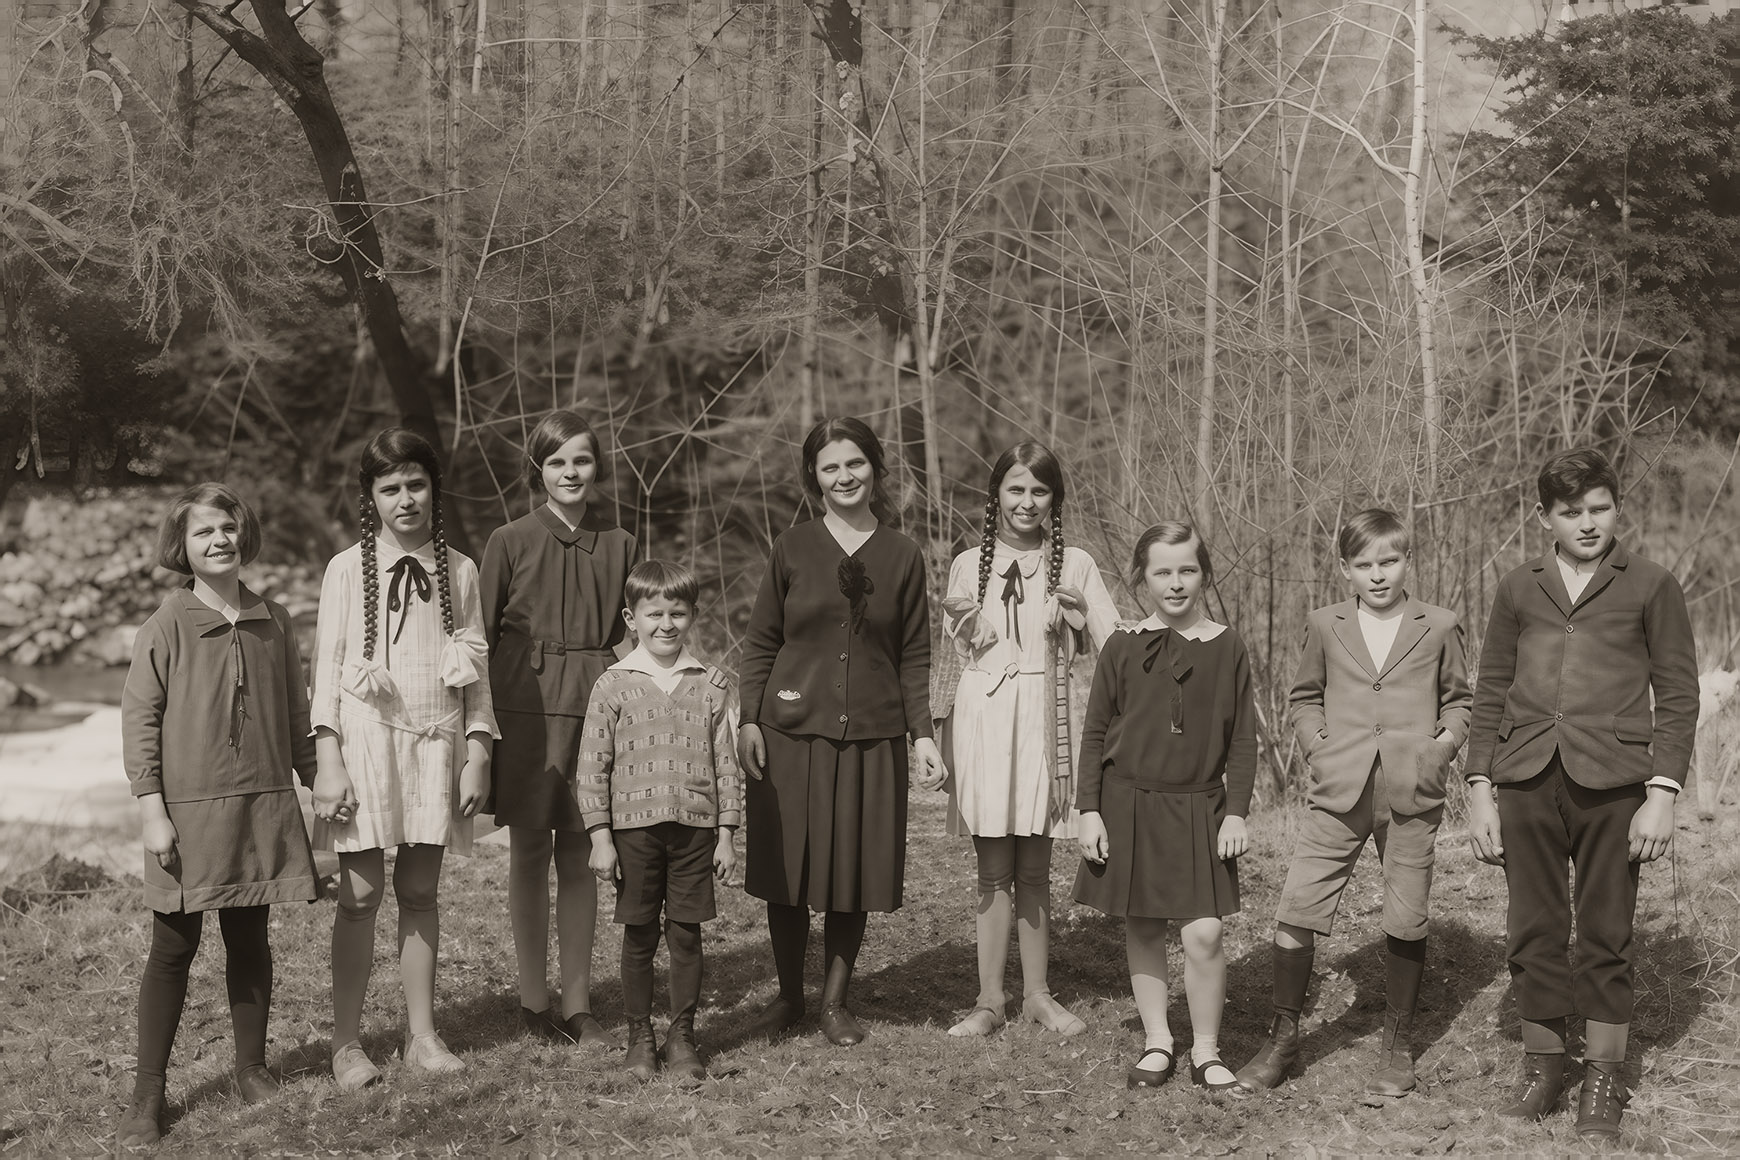
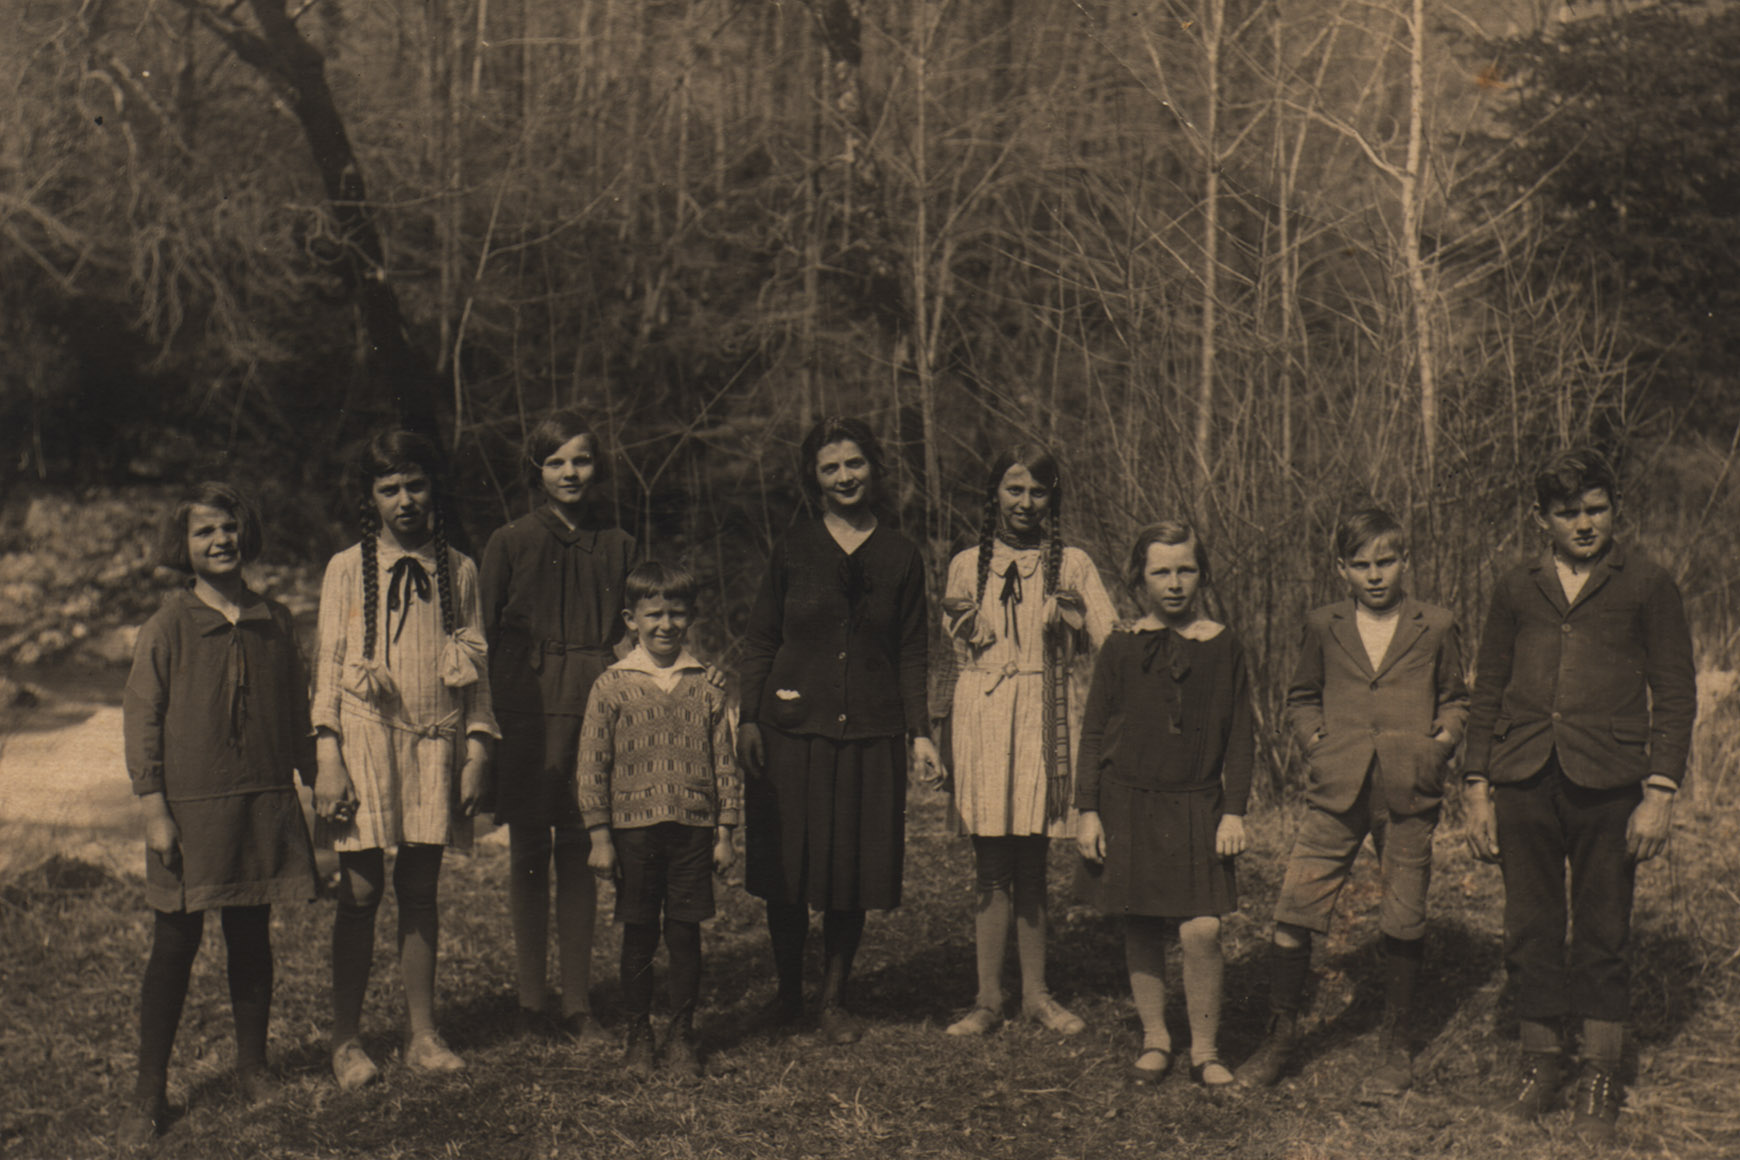
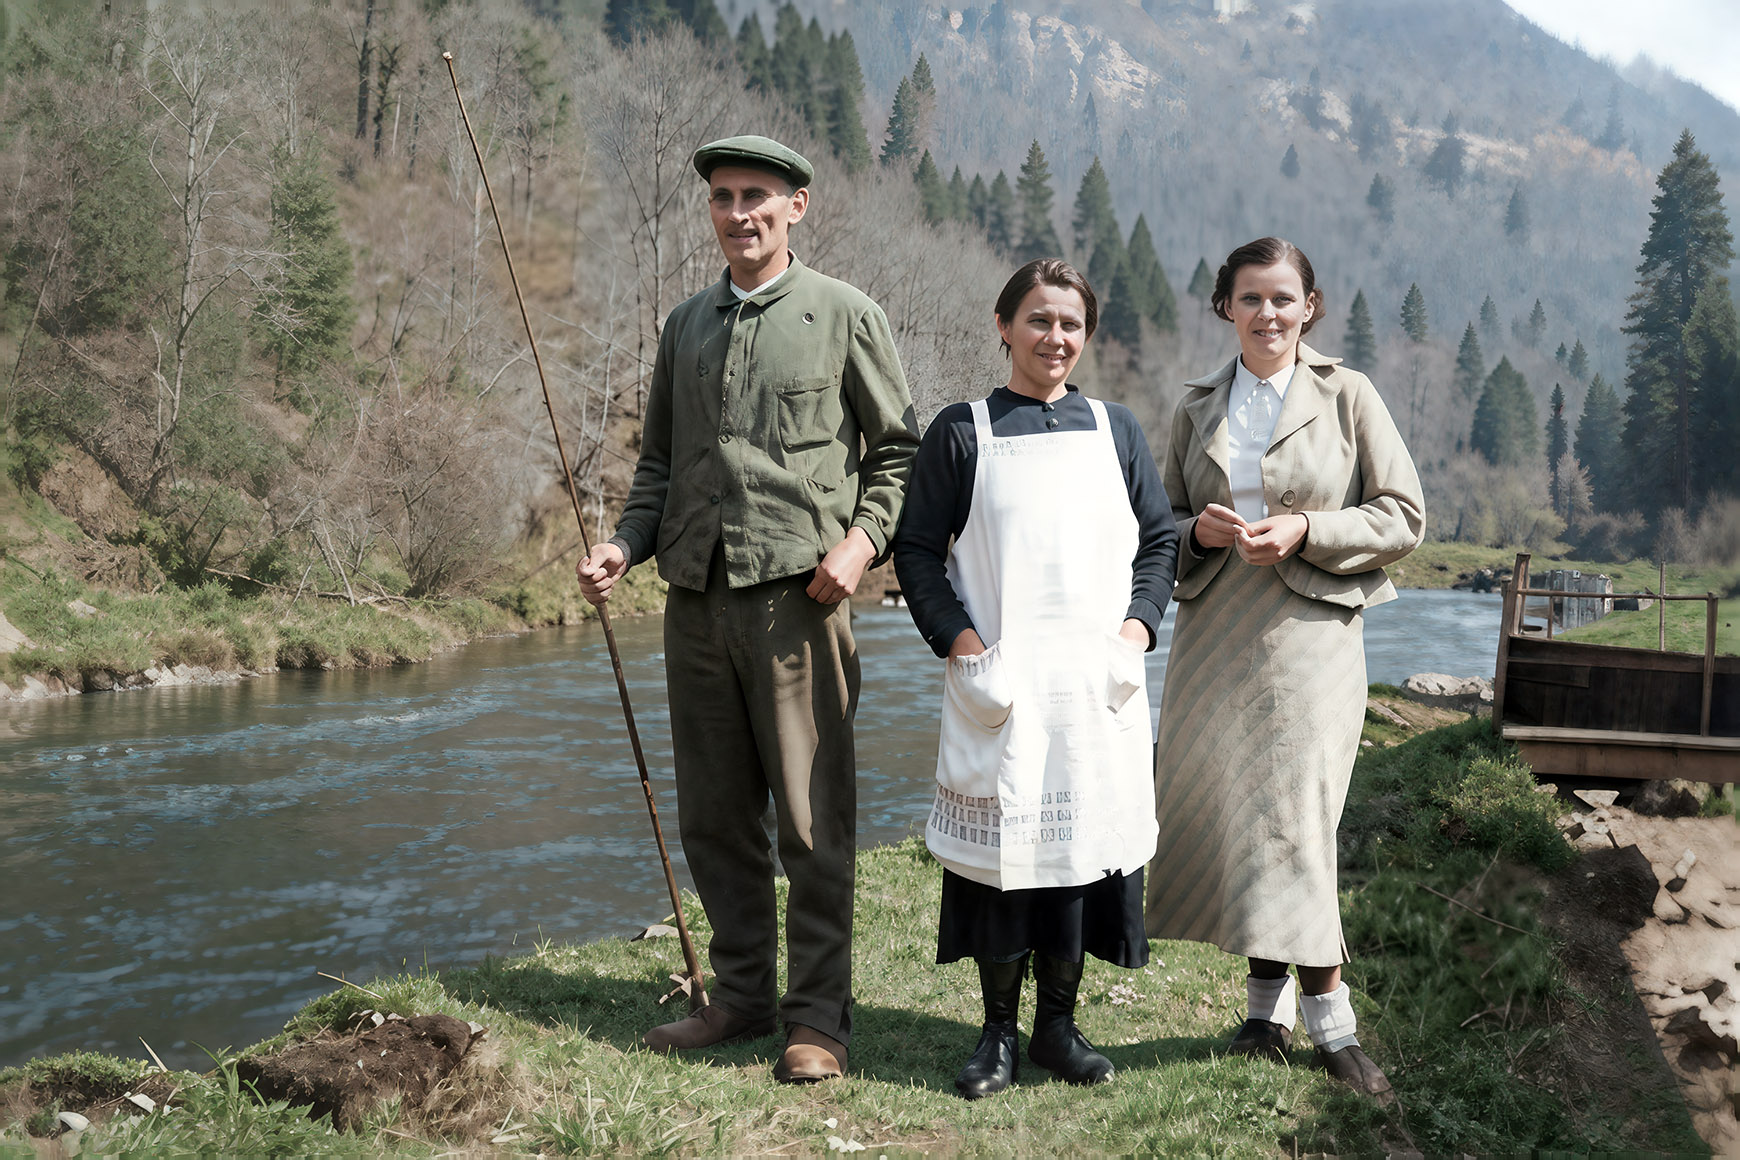
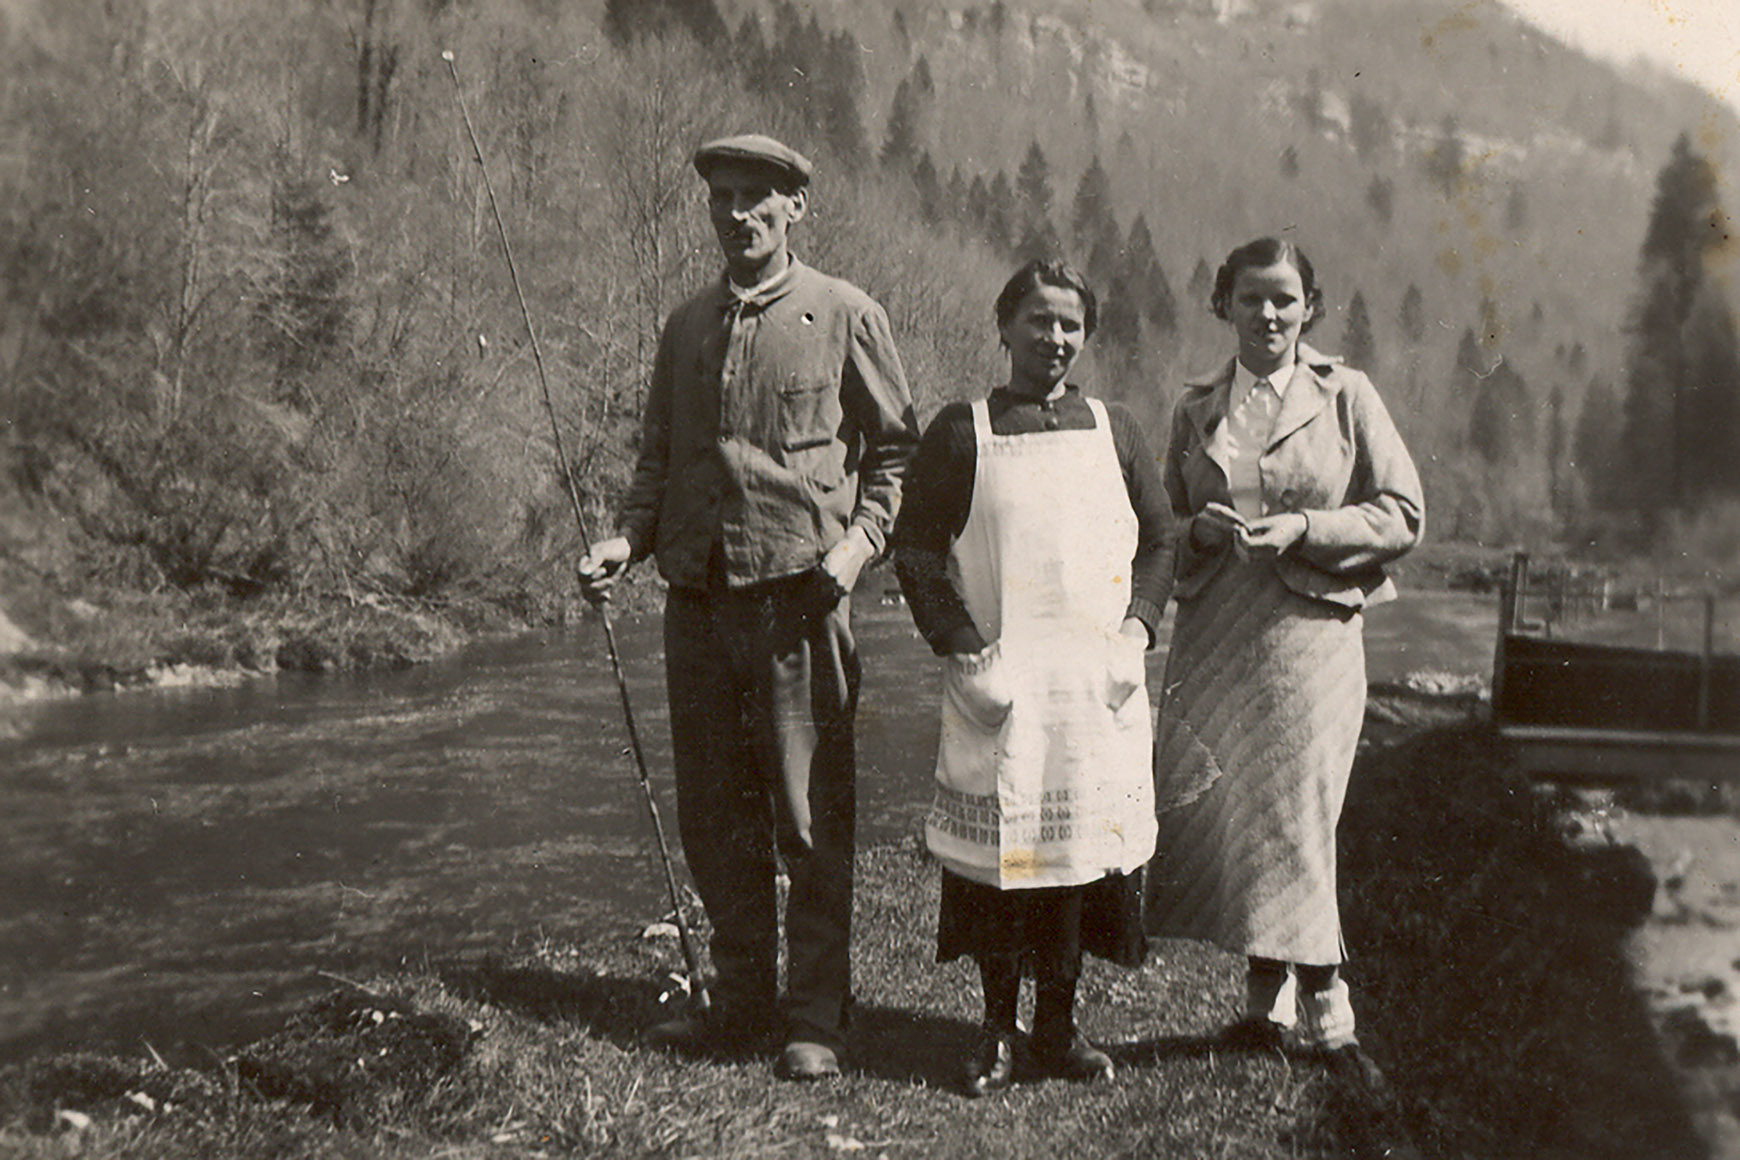
The next two examples are from the 1930s. The first one had gotten a little too dark over the years, and either it had always been on the soft side, or it had gotten that way with age. For the next image, I chose to add a bit of color. Sharpness was increased in both cases. The level of enhanced detail can be selected between 0% and 100%.
|
Rural school class kids with their teacher (1932) |
|
Husband, wife, and daughter (1936) |
The following photo is the first one presented here that was originally in color. It is clear that, today, the color balance is off, and I'm not sure whether the original was as soft when the picture was initially printed, but some sharpening is clearly necessary by now. Most of these edits were done with the default settings without customizing any parameters.
|
Wedding party, the groom and his mother (1969) |
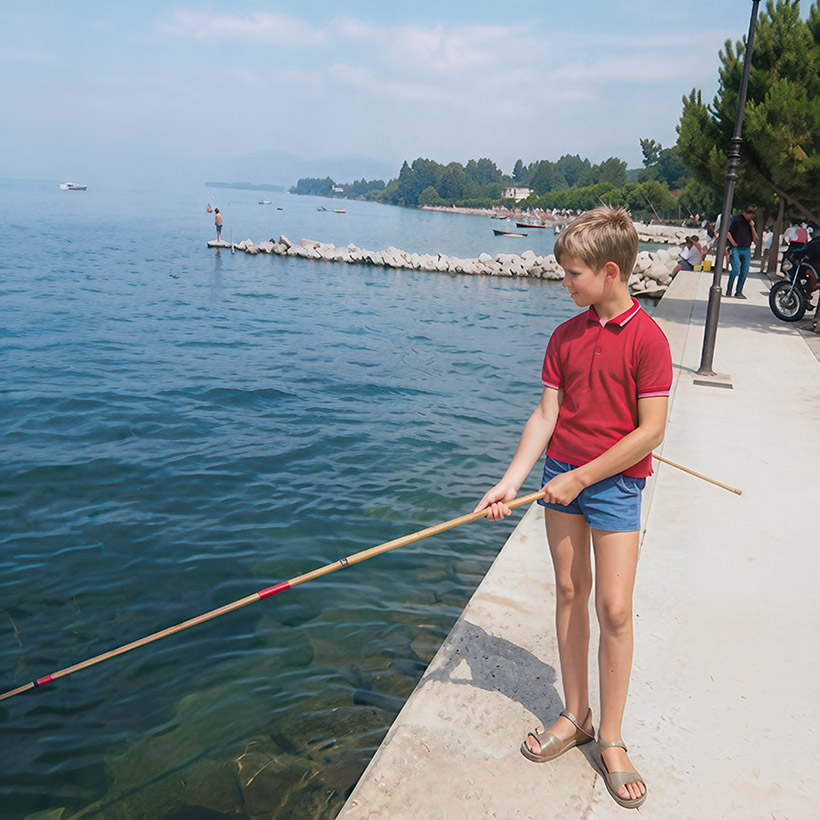
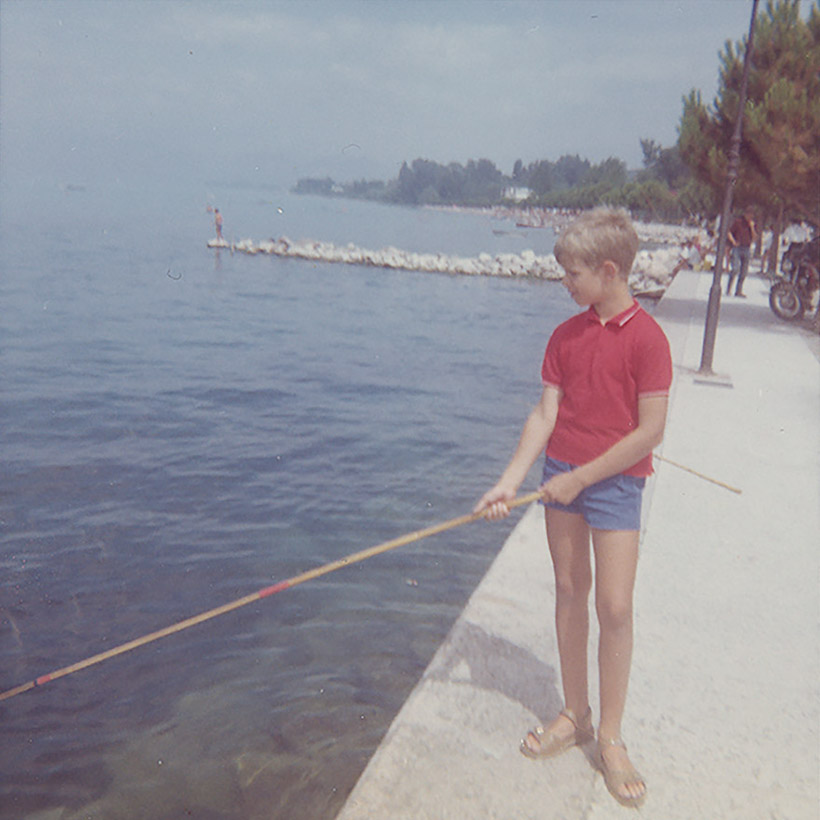
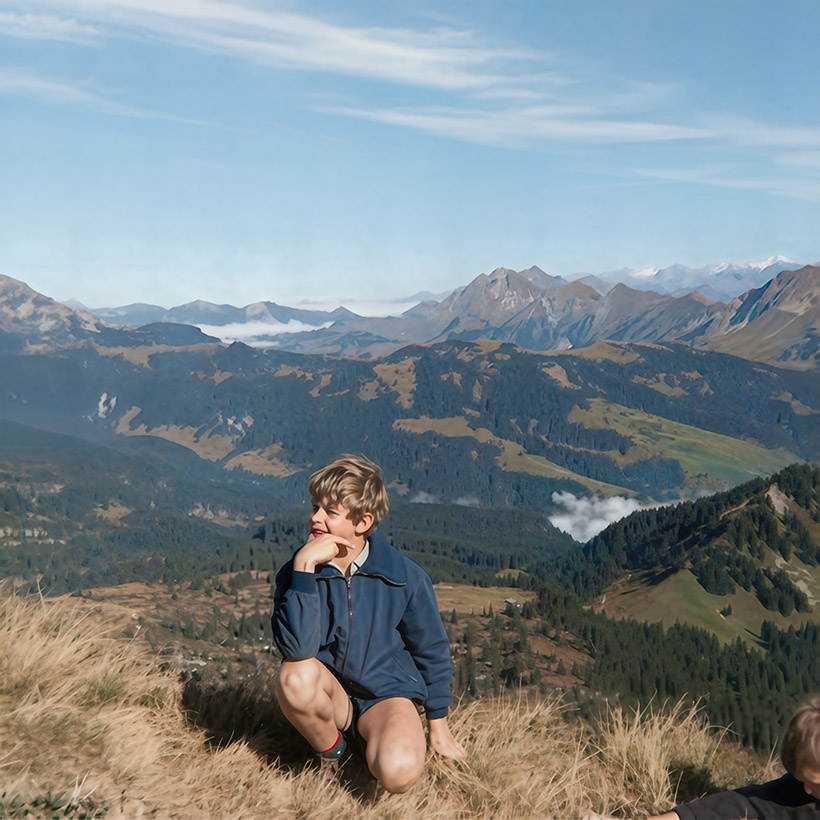
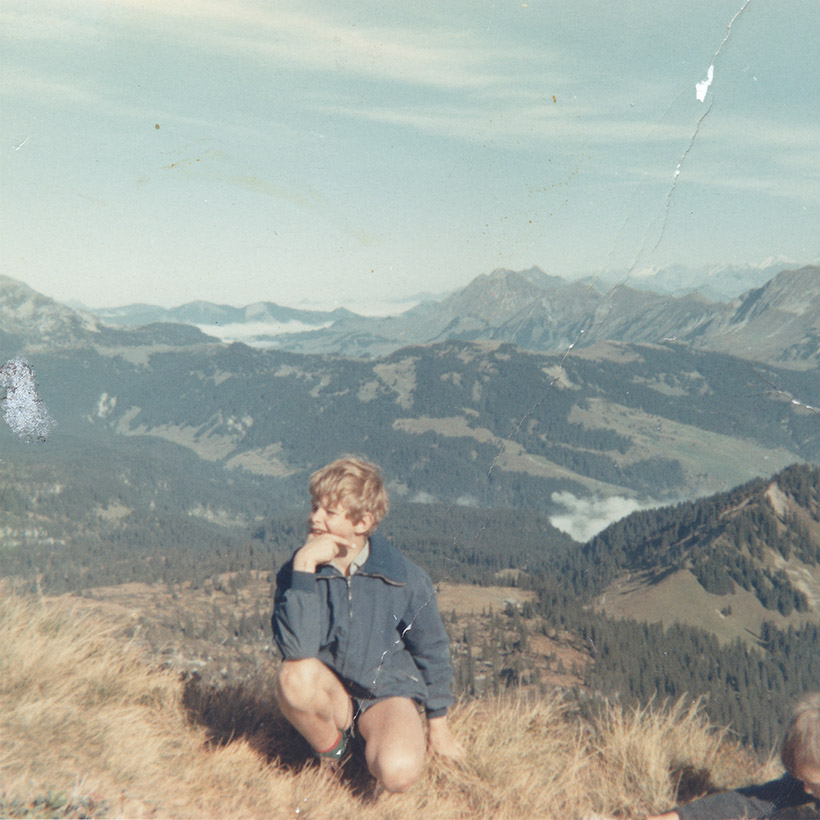
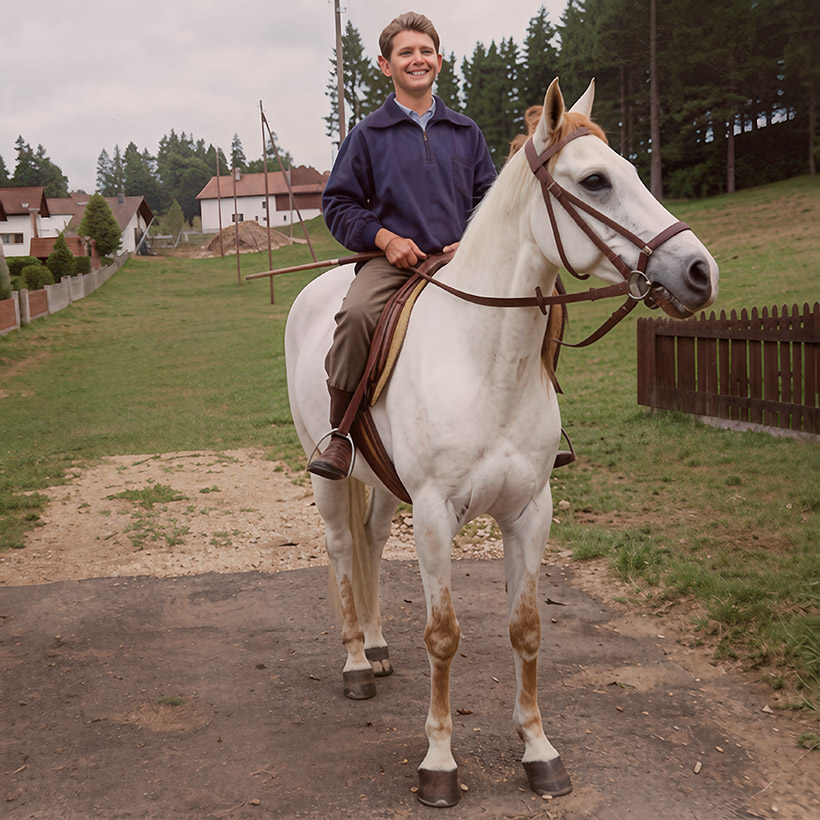
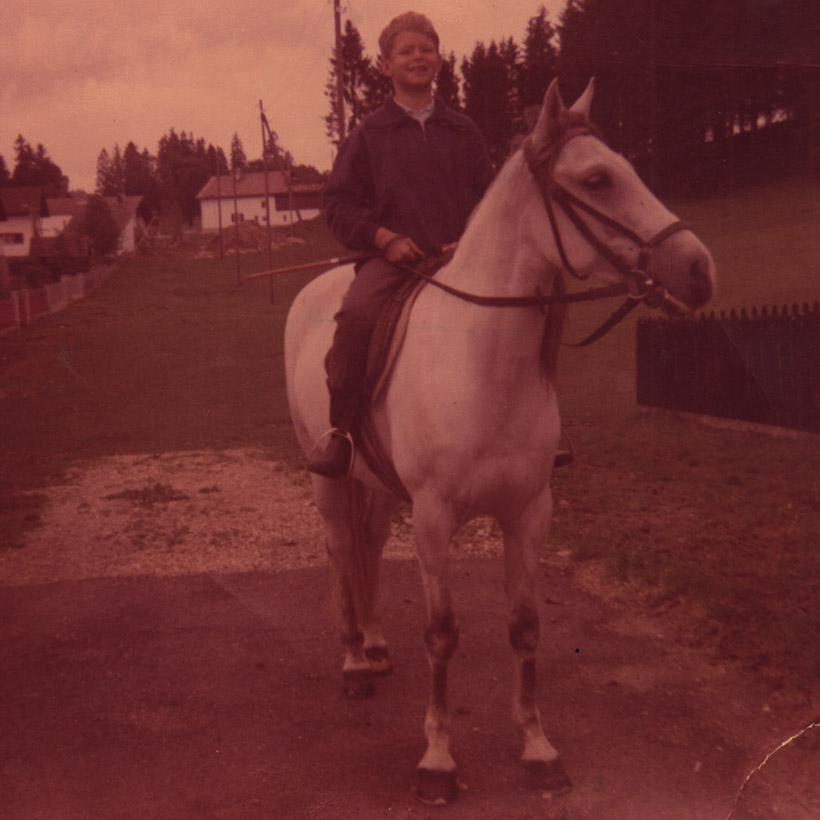
The following three pictures were almost certainly taken with a Kodak Starflash camera on 127 roll film, whereas the last square photo was probably taken with a Kodak Instamatic 100 camera on 126 cartridge film. Of these, the 127 roll film produced significantly larger negatives (16 as opposed to roughly 7 cm². Roll film thus has more recoverable detail. It also tends to fade less because it was usually processed by a photographer, whereas film cartridges had to be sent in to Kodak for mass processing. The far more pronounced fading is therefore typical for 126 films.
|
|
Kindergarten class (1961) |
Fishing by the lake (1964) |
|
|
Hiking in the mountains (1965) |
Riding on horseback (1966) |
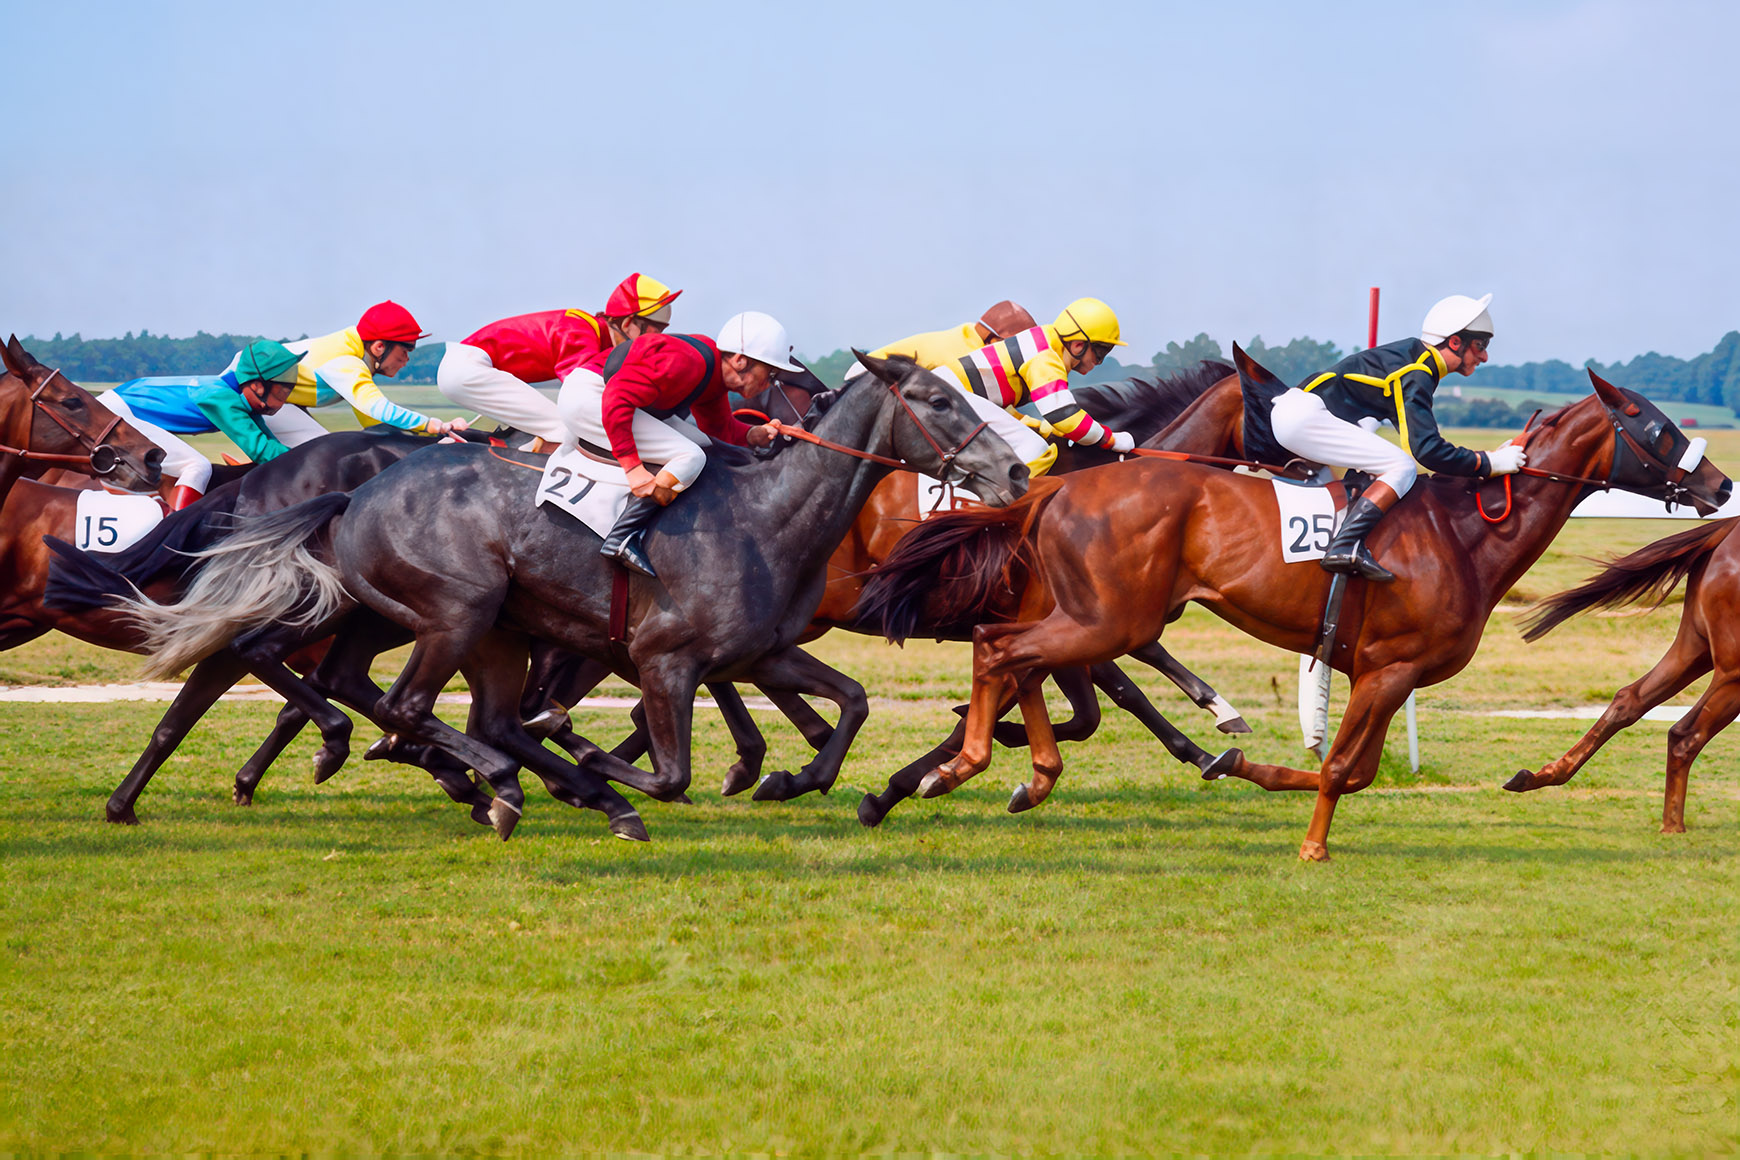
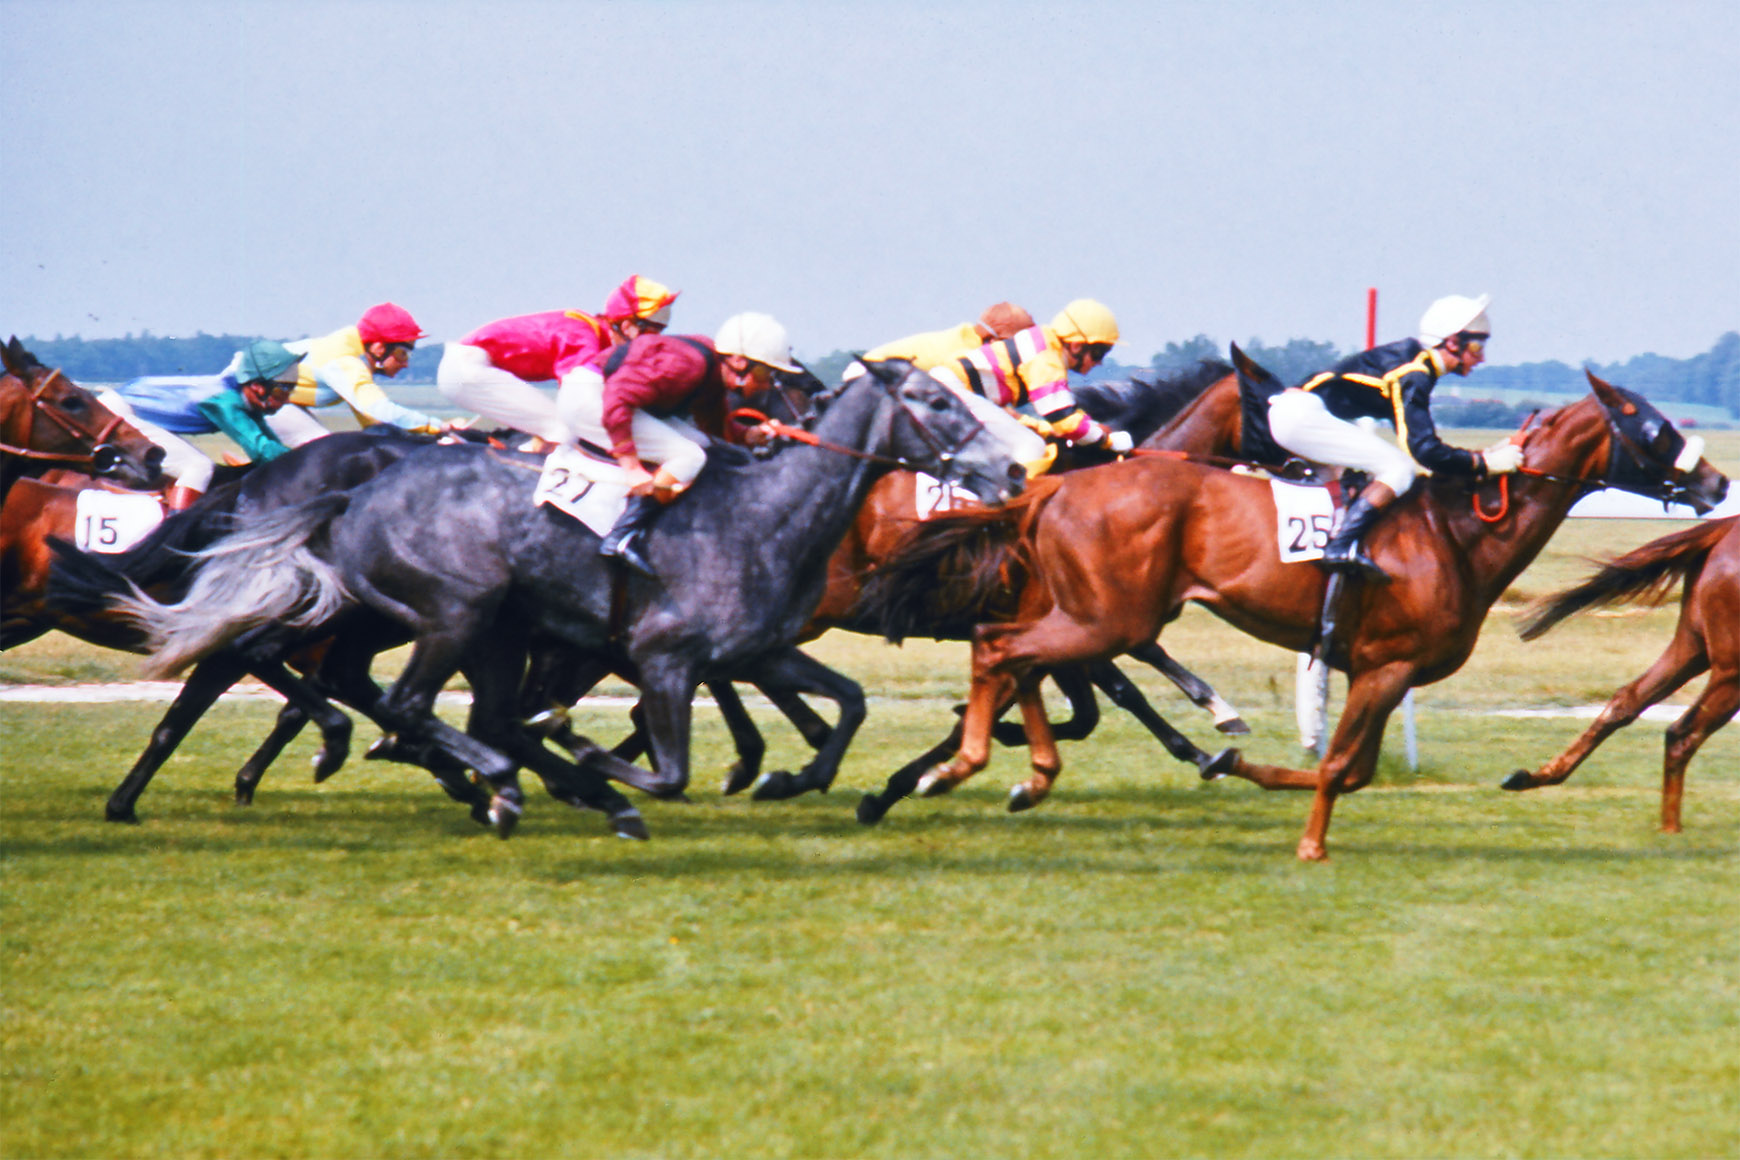
The last two examples are the only photos on this page I took myself, both with my Minolta SR-T 303 camera. The first one was shot on Fujichrome R100 slide film (because I had run out of Kodachrome, and I had to purchase the only slide film they sold at the track). This was just as well, because I used a Minolta 135 mm lens with a maximum aperture of ƒ/3.5, and the R100 got me two extra stops over my usual Kodachrome 25 film, helpful to photograph fast-moving horses. For the last photo, I was back on Kodachrome.
|
Horse races in Newmarket near Cambridge, England (1974) |
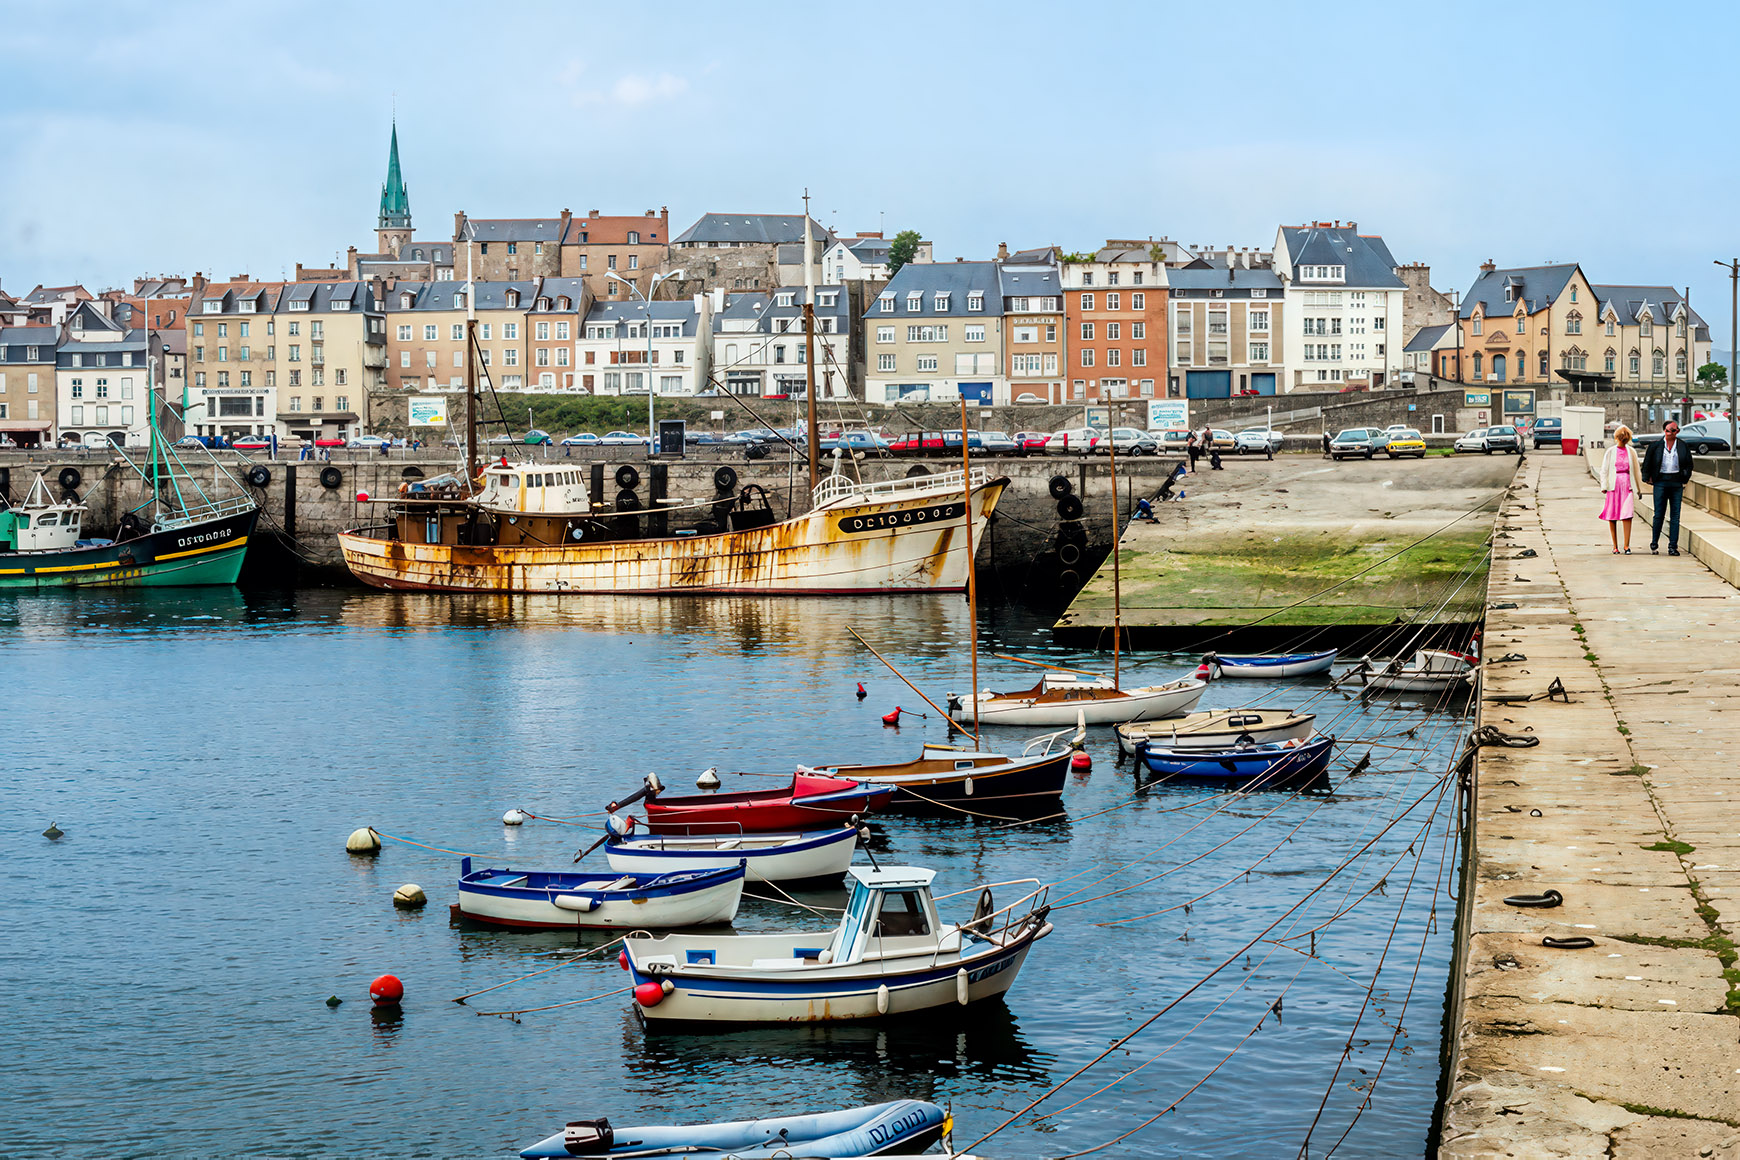
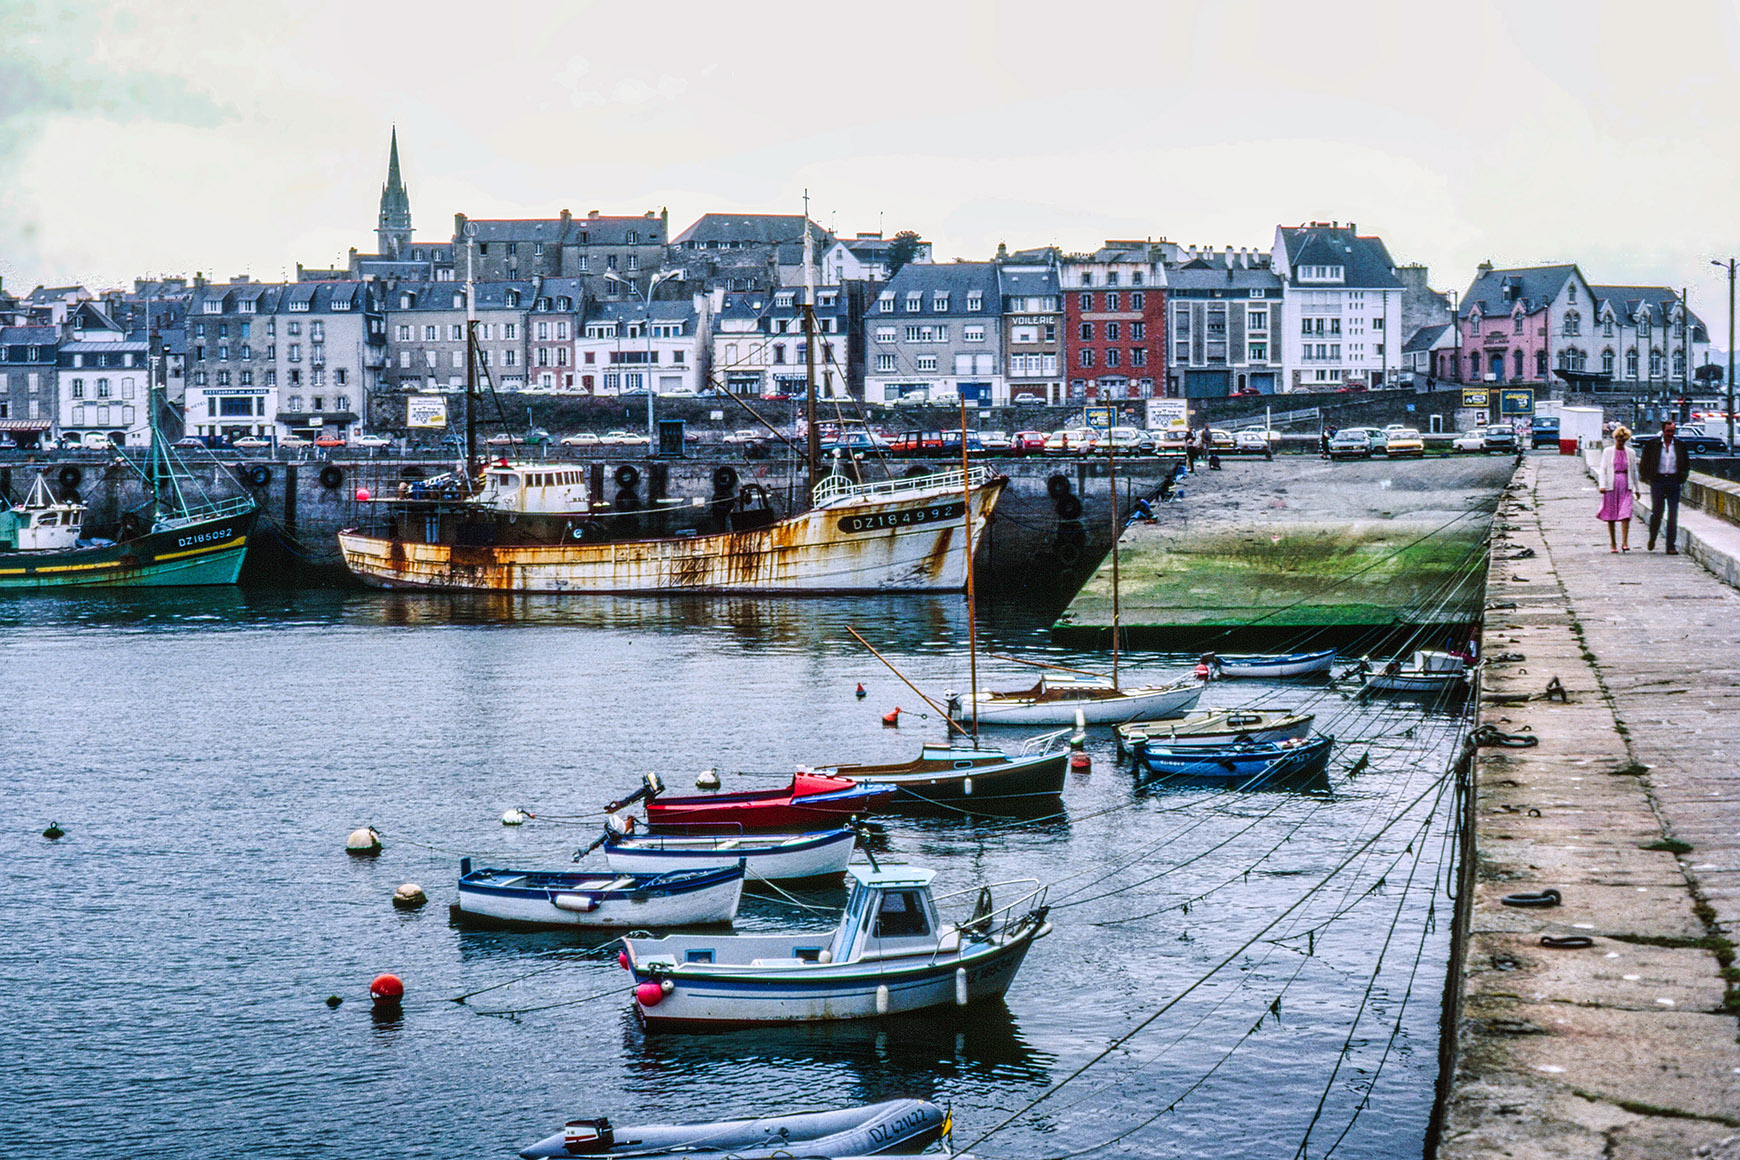
|
Port of Rosmeur in Douarnenez, Brittany, France (1981) |
Earlier, I mentioned that Restore AI was not perfect yet. As an example of what I meant, take a look at the before and after processing of the last photograph above. Yes, the level of detail and sharpness are much improved, but the program also turned a drab and gray Breton day into a sunny and pleasant scene. This clearly goes beyond what one should expect a photo restoration program to do. By default, Restore AI uses what ON1 calls Face Recovery, and in my opinion, that feature doesn't quite work yet. ON1 acknowledges that Face Recovery relies on generative technology, estimating facial details from millions of images rather than retaining an exact likeness. It tends to change certain faces too much and sometimes leaves halos and other artifacts in the processed images.
The good news is that with Face Recovery turned off, the program will get you at least 90% there when you try to restore old photos. ON1 offers generous 30-day trials, so if you have some old photos you want to restore, I recommend that you try the program. Unlike certain of their competitors, the company is a joy to deal with, and in my experience, their support is very responsive. The ON1 site also contains many instruction videos to get you started. If you wish to try this, you need the Max version of ON1 Photo RAW because Restore AI is done remotely on ON1's servers and so it will not work with the standard version. Have fun with your old prints or slides!
Home | Site Info | Family | The Area | Trips | France | Work | Rants | Photography | Odds & Ends
This page was last modified on September 1, 2026
Send feedback about this page to feedback@kiechle.com
https://www.kiechle.com/photography/restore/index.htm
(optimized for Retina display)
All contents © 1999-2026 The Kiechles